Two Weeks, Zero Fabric, One Button Jar: What Happened When We Quit Buying and Started Fixing
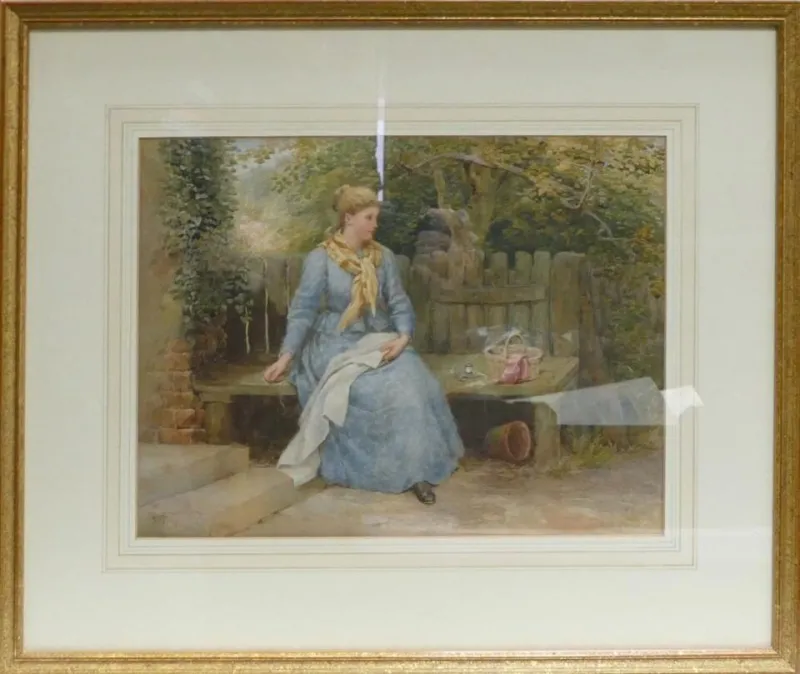
Photo: Samuel McCloy, Public domain, via Wikimedia Commons
Every sewist has a button jar. Ours lives in a repurposed pickle jar on the shelf above the machine — a jumble of spare buttons that came free with every blouse and coat we've ever bought, plus a few orphaned survivors from garments long gone to donation bins.
For two weeks, that jar was the whole point of the experiment. The rules were simple: no new fabric, no new patterns, no new notions. If we wanted to sew, we had to sew something we already owned. Hems, patches, take-ins, button swaps, busted seams. That's it.
Here's how it went.
Week One: The Warm-Ups
The first few days were almost embarrassingly easy. There's a reason every beginner class starts with hemming — it's the low-hanging fruit of alterations, and our closet was full of low-hanging fruit.
A pair of chinos my husband bought two years ago and never wore because they dragged half an inch past his shoes? Marked, pinned, stitched, done in forty minutes while dinner was in the oven. A knit dress with a strap that had been safety-pinned since last July? Ten minutes, including threading the machine.
By day four, the tally looked like this:
- 3 hems (two pants, one dress)
- 2 button reattachments
- 1 seam repair on a pillow cover that had been "temporarily" pinned since Thanksgiving
- 1 waistband take-in on a skirt I'd been avoiding since spring
The skirt take-in was the first real test. Side-seam alterations on something with a zipper sound scarier than they are, but I'll admit I sat down with a cup of coffee and a deep breath first. The trick nobody tells you: baste it by hand first, try it on, and only then commit to the machine. Undone basting takes two seconds. Undone machine stitching on a finished waistband takes considerably longer and considerably more coffee.
The 11 p.m. YouTube Moment
Week two is where the challenge earned its keep.
A favorite flannel shirt — the one that's soft in the way new flannel never is — developed a hole at the elbow. Not a fraying-at-the-seam situation. A hole-hole. Right in the middle of the plaid.
My first instinct was a visible patch, and honestly, on flannel plaid, a contrasting square patch can look intentional and kind of great. But the elbow is a high-movement area, and I wanted this shirt to last, not just to look charming for a month. So at 10:50 on a Tuesday night, I was on YouTube watching a Japanese boro-style darning tutorial for the third time, trying to figure out how to stabilize a woven repair so it wouldn't just rip again along the stitching line.
Verdict: the repair took about an hour and it's not invisible. But it's strong, the shirt is back in rotation, and every time I catch a glimpse of that elbow I feel disproportionately proud. Nobody at the grocery store has noticed or cared.
The other week-two surprise: buttons are a design tool, not just a fastener. Swapping the sad, mismatched plastic buttons on a cardigan for wooden ones from the jar took fifteen minutes and made a three-year-old cardigan look like a deliberate purchase. Total cost: zero dollars. Total transformation: honestly kind of shocking.
What the Experiment Was Really About
Here's the part I didn't expect. The challenge wasn't really about repairs — it was about the itch.
You know the itch. It's Tuesday night, you've had a day, and the urge to make something shows up. For most of us, that urge translates directly into browsing fabric sites, saving patterns we'll never start, and adding "just one yard" to a cart. The itch wants novelty, and shopping scratches it.
But it turns out a ninety-minute repair session scratches it too — maybe better, because you finish with a fixed garment instead of a new WIP and a lighter bank account. Twice during the two weeks, I caught myself reaching for the laptop to browse, redirected that energy to the mending pile instead, and ended the night genuinely satisfied. The urge to sew for sewing's sake didn't go away. It just got a healthier outlet.
By the Numbers
Final tally after fourteen days:
- 11 completed repairs and alterations
- 1 pair of jeans returned to regular rotation
- 1 flannel shirt saved from the donation pile
- 0 dollars spent on fabric, patterns, or notions
- 1 (one) late-night tutorial session
If I'd bought the equivalent new items — a pair of pants, a dress, a couple of shirts at fast-fashion prices — I'd have spent somewhere north of $100, and probably more, since the whole point of a good repair is that it keeps the stuff you actually like in your closet.
Want to Try It? Start Here
If two weeks sounds daunting, start smaller. Pick three items: one hem, one button, one seam. That's a single evening, and it builds the repair reflex the same way practice builds any other sewing skill.
A few things that made the challenge doable:
- Keep a visible mending pile. Out of sight was out of mind until I put the pile in a basket next to the machine. Proximity is everything.
- Baste before you commit. On any take-in or fit alteration, hand-basting first saves heartache.
- Embrace the visible repair. Sashiko-style stitching, contrasting patches, mismatched buttons — visible mending is having a moment, and it's forgiving of imperfection.
- Save a darning tutorial now. Watch it before you need it, not at 11 p.m. with a hole in your favorite shirt.
The button jar is still on the shelf, a little lighter than before. The fabric stash is exactly as it was — we're not monsters. But the reflex has changed. The itch shows up now, and I look at the mending basket first.
Turns out the best fabric store inventory was already hanging in the closet.