Thirty Seconds of Thread: The Button Trick That Saves Your Favorite Shirt
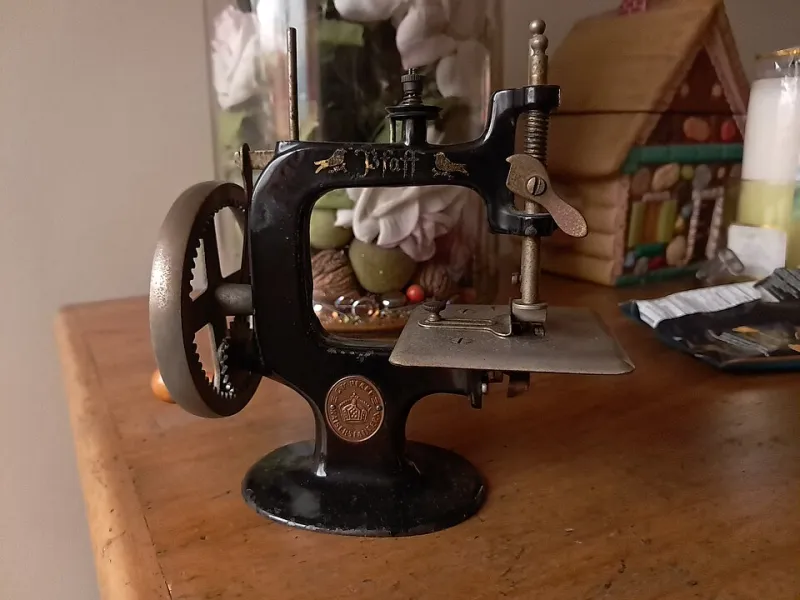
Photo: Deinodactyla, CC0, via Wikimedia Commons
There's a specific kind of heartbreak that happens in the laundry room. You sew a button back on your favorite flannel, pat yourself on the shoulder, and three washes later it's sitting in the bottom of the dryer like nothing ever happened.
Here's the thing: the button didn't fail. Your technique did. And the fix takes about thirty extra seconds per button — seconds that mean you'll never sew that same button again.
Why Buttons Fall Off in the First Place
Most of us learned to sew buttons from a parent or a home ec class, and we learned a version that's just shy of correct. We push the needle through the four holes a few times, tie a knot, and call it done. What we skip is the part that actually does the work: the shank.
A shank is the little thread stem that sits between the button and the fabric. It gives the button room to sit on top of thick fabric layers instead of pulling them tight. Without one, every time you button your shirt, the thread takes the full stress of the pull — straight through the button's holes, straight into the fabric. That's a tension tug-of-war the thread always loses.
The other common mistake is skipping the anchor. If your stitches aren't locked into the fabric properly, the whole button pivots and works itself loose like a loose screw.
The Two-Minute Button That Outlives the Shirt
Grab your button, a hand-sewing needle, and thread. All-purpose polyester thread is perfect — cotton thread has no stretch and tends to snap under stress. Double the thread and knot the ends together for four strands of strength.
-
Anchor from the back. Push your needle up through the fabric from the wrong side, right where the button goes. Take two small stitches in the same spot to lock the thread into the fabric. This is the step everybody skips.
-
Come up through one hole of the button, and slide the button down the thread until it rests against the fabric.
-
Place a match or a toothpick on top of the button. Sew over and through the remaining holes like normal, but keep your stitches loose over the match. This is the trick — that little gap becomes your shank.
-
Do 5–6 passes through all four holes. Not two. Not three. Six. Polyester thread is cheap; your time is not.
-
Remove the match, lift the button, and wrap the thread around the shank three or four times, building a tight little thread stem between button and fabric.
-
The jujitsu knot. Pull the needle to the back of the fabric, take one tiny stitch without pulling it all the way through, then pass the needle through the loop that forms and pull tight. Repeat twice. This self-locking knot won't slip the way a simple overhand knot will.
That's it. Two minutes, and you've sewn a button that will survive the dryer, the washer, and your kid yanking the shirt off over their head.
When to Go Heavy-Duty: Coats, Jeans, and Workwear
The technique above is perfect for shirts and blouses. But a winter coat button lives a rougher life — heavy fabric, big tension, mittened hands yanking at it. That's where you upgrade to a reinforced jujitsu back.
For coats, sew the button on with a shank as described, but before you build the shank, run your needle through to the inside of the coat and take a small anchoring stitch through an interior interfacing layer or a scrap of fusible web. This spreads the stress across a wider area of fabric instead of one point. Then wrap a generous shank — five or six wraps, not three — because the button needs to clear both the coat placket and the layer underneath.
For jeans and workwear buttons, consider a metal jeans button with a backing rivet instead of sewn-on plastic. They install with a hammer, not a needle, and they'll outlast the denim.
A Quick Word on Thread Choice
The budget-friendly secret hiding in plain sight: button and carpet thread (sometimes labeled heavy-duty upholstery thread) costs about three dollars a spool and is dramatically stronger than all-purpose thread. If you're reattaching buttons on anything that takes real abuse — chore jackets, overalls, kids' backpacks — it's the difference between a repair and a ritual.
The Real Cost of Skipping This
Think of it this way: a $2 spool of good thread and two minutes of technique can add years to a $60 shirt. Multiply that across a closet, and this is one of the highest-return skills in home sewing. It's also the perfect gateway project for anyone in your house who claims they "can't sew" — instant, visible results, no pattern required.
So the next time a button pops, don't just stitch it back on the same old way. Give it the shank, the anchor, and the jujitsu knot. Your laundry room will thank you.