The Envelope Is a Sketch, Not a Promise: How Finished Measurements Save Your Next Make
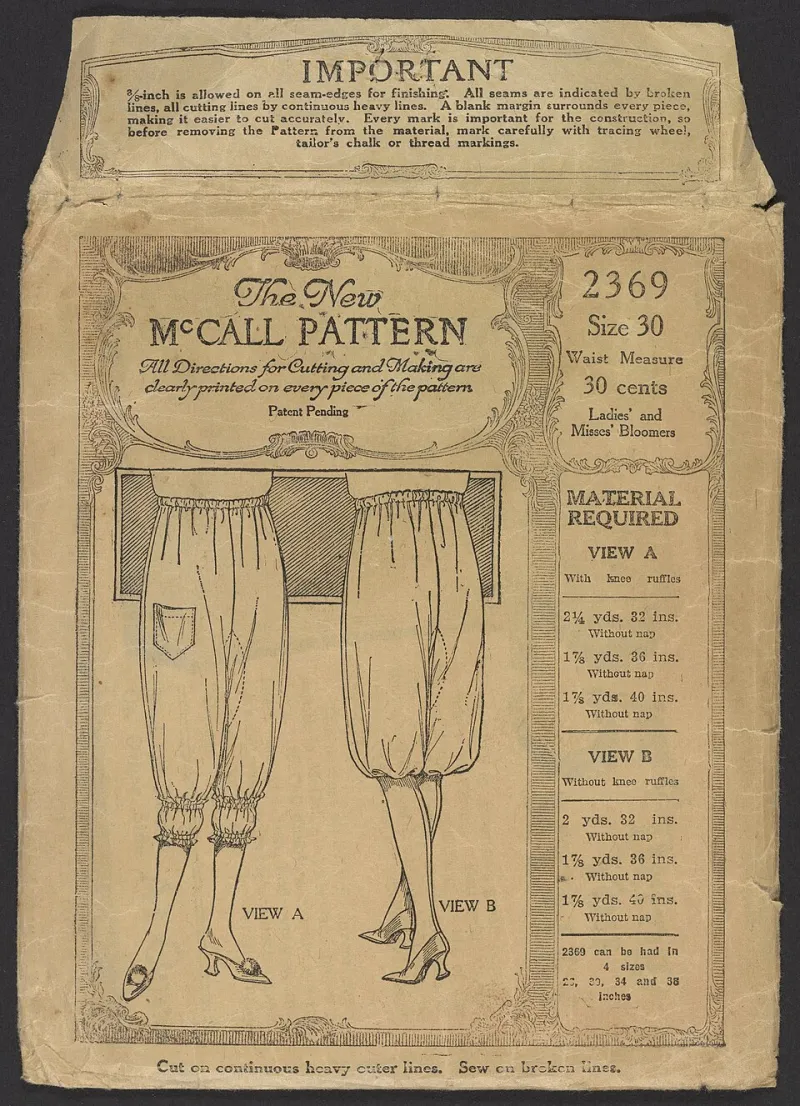
Photo: McCall Pattern Company, Public domain, via Wikimedia Commons
Pattern envelopes are good at two things: showing you a cute drawing and making you feel like you know your size. They are less good at telling you what the finished garment will actually measure. If you have ever sewn the size you wear at a store and ended up with a shirt that could house a small family, you have met the difference between body measurements and finished measurements.
What the envelope is actually telling you
The size chart on the back is usually a body measurement chart. It tells you the bust, waist, and hip measurements the pattern company used to draft that size. It does not tell you how big the sewn garment will be. The illustration is a stylized drawing on a stylized figure, so it is not a fit promise either.
The number you need is the finished garment measurement. Many patterns list it on the envelope, on the pattern tissue, or on the company website. It is the measurement of the garment after it is sewn, usually at the bust, waist, and hip. The difference between your body measurement and the finished garment measurement is ease.
A real example with a woven shirt
Let us say you are making a button-down shirt. The envelope size chart says size 12 has a 36-inch bust, size 14 has a 38-inch bust, and size 16 has a 40-inch bust. Your bust measures 38 inches, so the chart points you to size 14. Good so far.
Now look at the finished measurements. Size 14 finishes at 42 inches at the bust, 34 inches at the waist, and 44 inches at the hip. That means the shirt has 4 inches of positive ease at the bust compared with your 38-inch body. That is a relaxed shirt, not a fitted one. If that is the look you want, size 14 is correct.
If you want a closer fit, size 12 finishes at 40 inches at the bust — 2 inches of ease. That may be better for a fitted shirt, but check the waist and hip before you commit. Size 12 might finish at 32 inches at the waist, which is only 1 inch of ease over your 31-inch waist. For a woven shirt, that could be snug when you sit down. You may need to choose by the bust and then adjust the waist, or choose the larger size and take in the sides. This is normal. Patterns are a starting point, not a custom draft.
Positive, negative, and zero ease
Positive ease means the garment is bigger than your body. Wovens need positive ease so you can move, sit, and breathe. A tailored jacket might have 3 to 4 inches of ease at the bust; a loose linen top might have 6 inches or more. The pattern's design ease is part of the look.
Negative ease means the garment is smaller than your body and relies on stretch. Knit leggings, swimwear, and some bodysuits use negative ease. It is not a bad word. It is a design choice, and it only works when the fabric has enough stretch and recovery.
Zero ease means the garment measures the same as your body. It can work in a stable knit or a very structured woven, but it leaves little room for error. If you are new to fitting, start with a pattern that has clear finished measurements and a little positive ease.
The tape measure is the boss
Measure yourself over light clothing, not over jeans and a hoodie. Measure your bust at the fullest point, your high bust or upper bust if you plan to do a bust adjustment, your natural waist, and your hip at the fullest point. Write the numbers down. If you can, have someone help you with the back and hip measurements so you are not twisting the tape.
Then compare those numbers to the finished garment measurements, not just the size chart. If the pattern does not list finished measurements, measure the pattern pieces at the seamlines and subtract seam allowances. It takes five minutes and saves hours of seam ripping.
Pre-cutting checklist for wovens
- Measure your body and write it down.
- Find the finished bust, waist, and hip measurements.
- Decide how much ease you want for the design.
- Check the shoulder and upper bust if the pattern has sleeves.
- Make a muslin or tissue-fit the bodice before cutting your good fabric.
- Adjust the waist or hips separately if your measurements span sizes.
Pre-cutting checklist for knits
- Measure your body and write it down.
- Find the finished measurements and the recommended stretch percentage.
- Check that your fabric actually meets that stretch percentage.
- Expect negative ease for close-fitting knit patterns.
- Do not size down just because the fabric is stretchy.
- Sew a small test seam or wear the muslin long enough to sit down in it.
The pattern envelope is not lying to you. It is just not telling the whole story. Read the finished measurements, decide how you want the garment to fit, and let your tape measure have the final word before you cut.